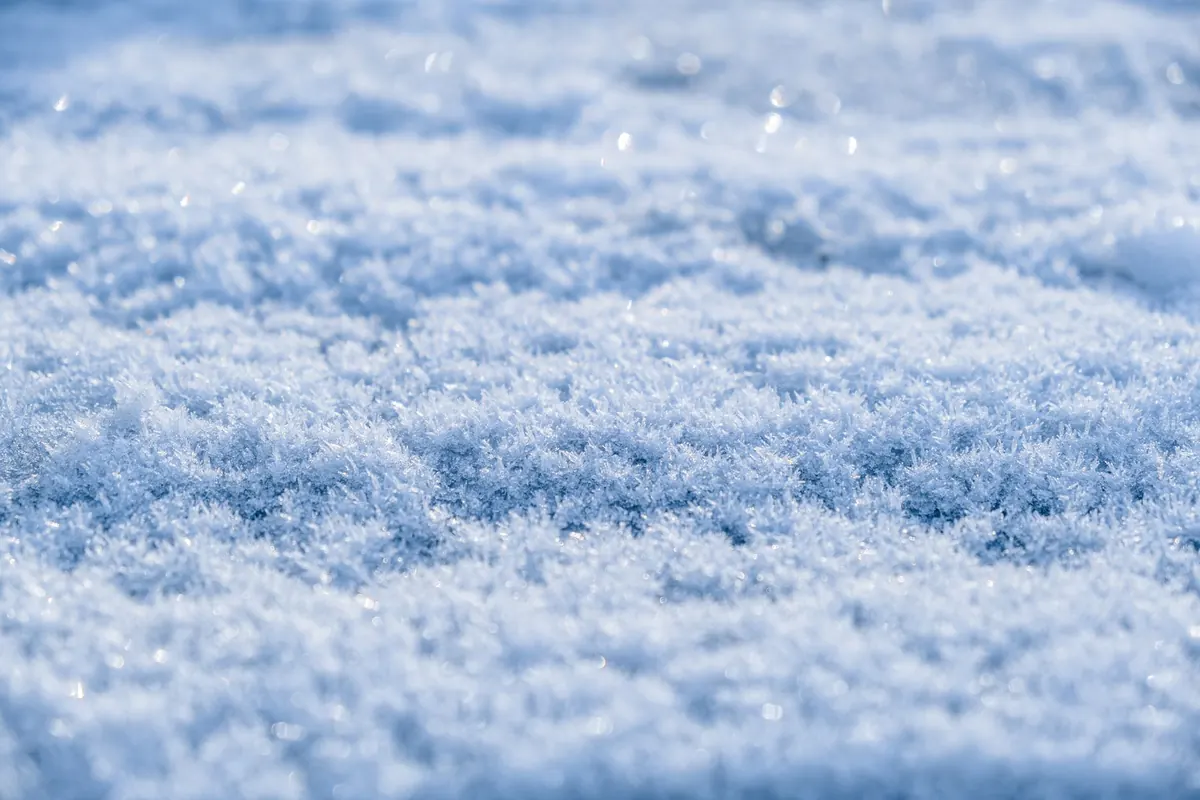
Packed snow behaves nothing like the fluffy stuff of a snowball fight. Once you can cut a block out of a drift and it holds its shape, you are carving, and carving rewards the right tool the way cooking does. The surprise for most beginners is how modest the kit really is. A shovel, a saw you may already own, a spray bottle, and a few garden and kitchen implements will carry you from a lumpy pile to something with a face, a curve and a clean edge. Everything beyond that is refinement.
What follows is the kit worth carrying on your first few trips, sorted into what you need, what is nice to have, and what can wait until you know you are hooked.
The Starter Kit, at a Glance
If you buy nothing at all and only raid the garage and the kitchen drawer, this list will get you through a full session.
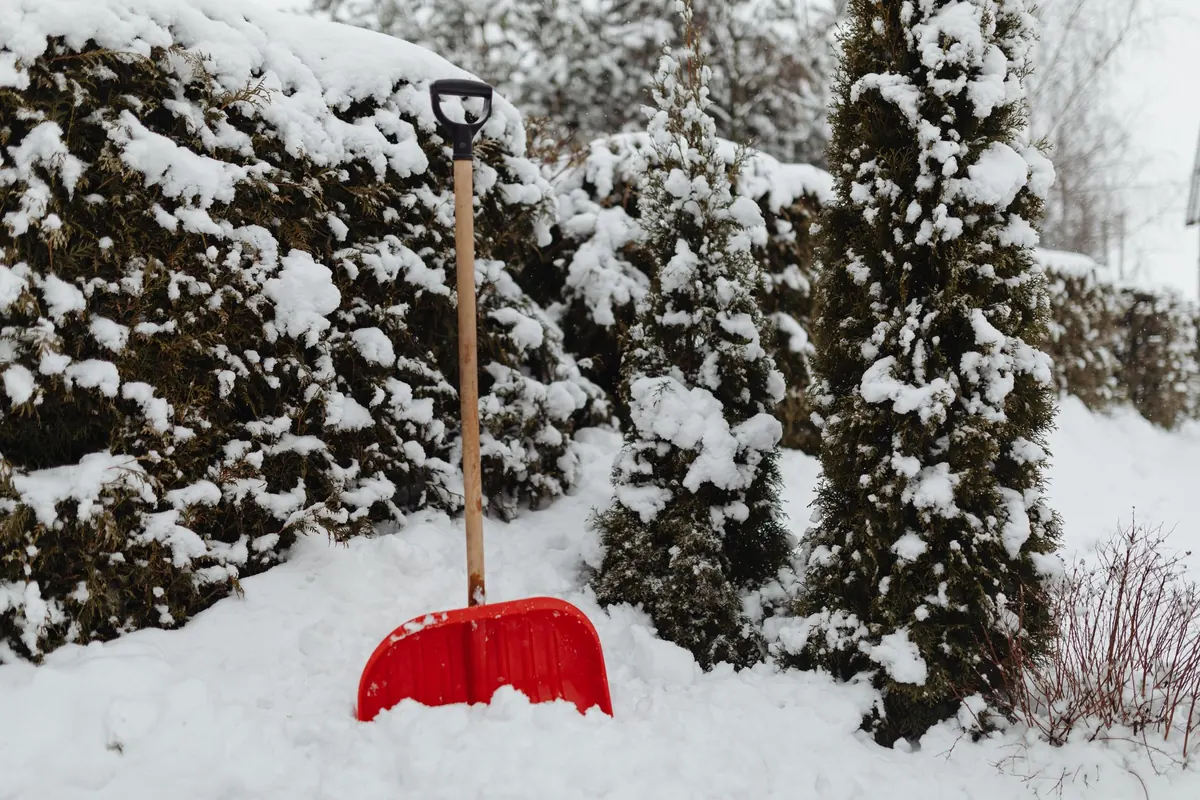
- A grain scoop or large snow shovel for moving volume, plus a small hand shovel for close work.
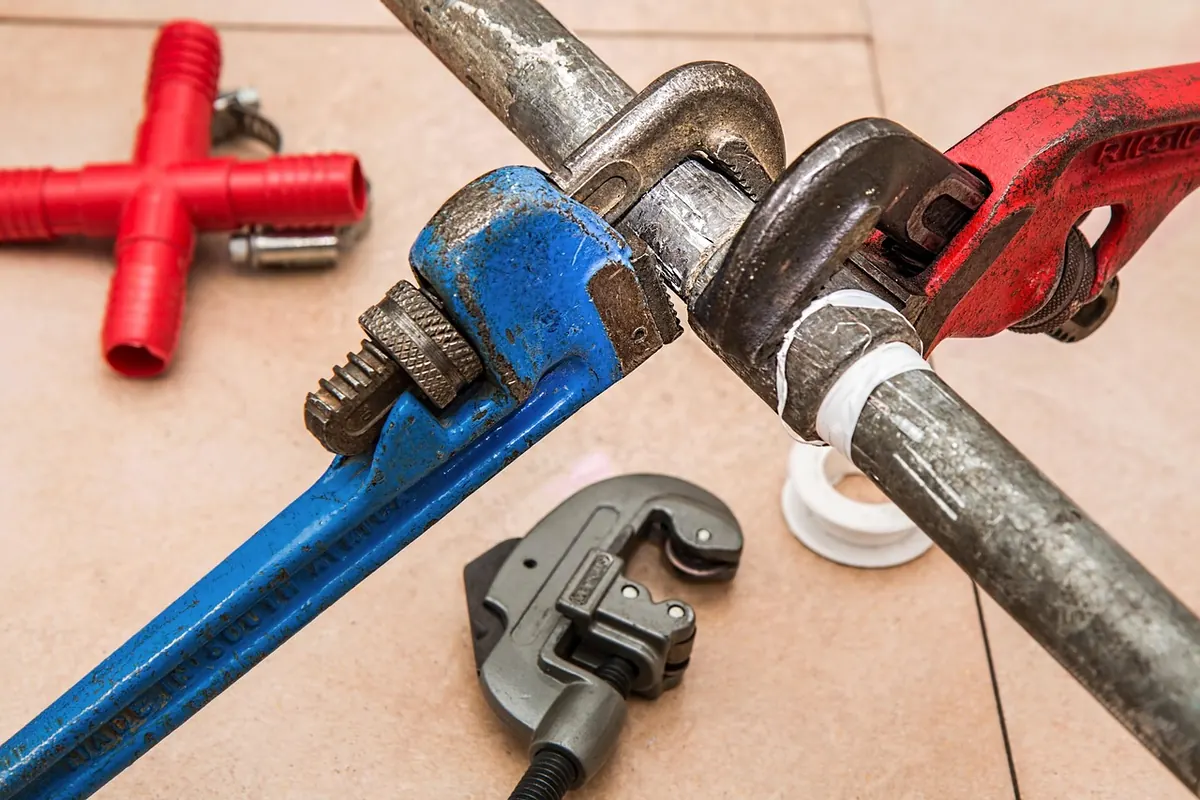
- A long snow saw or pruning saw for cutting blocks out of a drift.
- A stiff handsaw, such as a drywall saw or an old panel saw, for roughing out shape.
- A spray bottle of water for freezing and smoothing surfaces.
- A wood rasp or surform for shaving and shaping.
- A garden trowel for lifting small amounts without wrecking an edge.
- A stiff-bristled brush for clearing crumbs and texturing flat faces.
- A tape measure and a length of string for straight lines and circles.
- Waterproof gloves, a spare pair, warm boots and a knee pad.
- A bucket or a small sled so the whole kit travels in one trip.
None of this is specialist equipment. That is the point. Snow is soft enough that ordinary tools bite into it, and hard enough that you will want a few of them to be rigid rather than floppy.
The Two Tools That Decide Your Day
The shovel
Volume work is where beginners lose the most time. Build the mass of your sculpture with a wide aluminium grain scoop, the kind with a straight, slightly sharpened front edge. That edge lets you skim down to the ground and take clean slices rather than scoops, and aluminium slides through wet snow instead of dragging.
Plastic shovels are lighter and cheaper, and a wide plastic scoop is fine for piling snow into a rough mound. It will not give you a flat face or a crisp corner. Pack a small hand shovel as well, the sort sold for cars and camping. It is the tool you reach for when you are on your knees shaping a base and cannot swing a full-size blade without clipping your own work.
The saw
A snow saw is long, stiff and coarse-toothed, designed to cut blocks out of a drift the way a handsaw cuts timber. Borrow a pruning saw if you do not have one, but check that the blade is stiff; a floppy folding saw will wander out of line and leave you with trapezoid blocks. Cut from the top down, use long strokes and let the teeth clear the slush. Snow saws do not need to be sharp in the woodworking sense, but a clogged blade turns a two-minute job into ten.
For detail, a short stiff handsaw is more useful than a long one. A drywall saw is a good cheap choice: pointed, short, and easy to control inside a tight curve. This is the tool that separates a shoulder from a shoulder-shaped lump.
The Kitchen Drawer, Taken Seriously
Many experienced carvers reach for utensils before they reach for anything from a specialist shop. The shapes are already right: a spoon has a hollow, a spatula has a flat plane, a fork has teeth.
- Wooden spoon. Presses round hollows for eyes, cheeks and scooped recesses.
- Metal spoon. Smooths curves, and a cheap one can be bent to a shape you like.
- Silicone spatula. Blends seams and softens a hard edge without tearing the surface.
- Melon baller. Small dimples and clean circular details.
- Fork. Fine texture, hair lines, fur direction.
- Whisk. Light surface texture that catches low sunlight.
Buy these second-hand rather than donating your good spoons to the snow. Cold makes cheap plastic brittle, so expect a spatula or two to snap over a winter, and do not spend much on them. Keep the snow tools in a separate bag so they never drift back into the kitchen.
Smoothing, Freezing and Finishing
A spray bottle of plain water is the cheapest finishing tool you own. A light mist over a carved surface freezes quickly and firms up the snow, which is how you get a glossy face or a sharp ridge to survive until morning. The technique matters more than the bottle: mist lightly, wait a moment, then smooth with a gloved hand or a spatula. Too much water at once turns the surface to slush that refreezes glassy and can sag under its own weight.
Weather is a tool too, in a sense. Snow near freezing packs well and holds detail; colder, drier snow crumbles and wants more water and more patience. Warm afternoons soften everything, which is why evening and early morning are the good working hours. If you are sculpting in serious cold, watch your hands and face, take breaks indoors, and follow local cold-weather guidance rather than pushing through numb fingers.
A wood rasp handles the middle ground between saw and spoon. Run it along a surface to shave a curve down evenly, then brush away the crumbs with the stiff brush. Rasp, brush, spray, repeat. That loop is most of finishing.
What You Can Leave on the Shelf
Snow sculpting has a tempting catalogue of extras, and most of them are wasted money in your first season.
- Pre-packaged "snow sculpting kits". Often repackaged kitchen and garden tools at a markup.
- Power tools. Chainsaws and angle grinders belong to trained carvers with proper protective gear. Not a first purchase.
- Ice chisels and ice tools. Useful only when snow is packed around ice, which is a different job.
- Plywood forms and molds. Excellent for tall towers and repeated shapes, unnecessary for a first carving.
- Coloured sprays and dyes. Fun once your forms hold up. They will not fix a soft edge.
Spend the money you save on good gloves and a second pair, because wet gloves end sessions early.
Before Your First Carve: A Short Checklist
- Pick a spot with shade and a snowbank deep enough to cut into. South-facing snow softens fast.
- Build or cut a solid block first. A firm base makes every later cut easier and safer.
- Block in the big shapes with the saw before touching a spoon. Rough, then refine, never the reverse.
- Step back every ten minutes. Detail work pulls you in close and hides proportion mistakes.
- Finish with a light mist and a brush, then photograph in low sun or at dusk.
Start with the shovel, the saw and the spray bottle. Add the kitchen tools as your shapes get smaller. If you finish a session wishing you had one specific implement, write it down and buy that one thing before your next trip out. Your kit should grow out of your own habits, not someone else's list.